 Vulos OS · User guide
Install Vulos
The complete path to a running Vulos: pick a machine — a mini-PC, an old laptop, or a rented cloud VPS — get the image onto it, sign in, then optionally put it on a domain with TLS and make it reachable from anywhere. One Go binary, no Docker, no developer tooling required.
Pick your machine
Run Vulos on a computer you own and keep on — or rent one:
- A mini-PC or an old laptop at home
- A Raspberry Pi 5 (arm64)
- Or a cloud VPS — no spare hardware needed, and it never sleeps
Floor: 2 GB RAM, 10 GB disk for a full box (a VPS you'll only use as a relay is happy on the smallest instance any provider sells). Vulos installs its own base — no Linux setup first.
Renting a VPS? Decide which of two jobs it does — you can always add the other later: your Vulos box itself (always on, public IP, real disk for your files), or a relay that fronts a box you keep at home (tiny, cheap, forwards ciphertext and stores nothing — see the last step below).
Flash the image (bare metal)
On a mini-PC, laptop, or Pi: download the .img.gz from Releases and write it with Balena Etcher (drag, pick drive, flash) — or on the terminal:
dd if=vulos-x86_64.img of=/dev/sdX bs=4MThen boot from it. No USB stick? Netboot over a phone tether instead. Every artefact is signed and verified before it runs.
Renting a VPS instead? Skip to the next step.
…or boot it on a rented VPS
No spare machine? Rent one — Vulos ships a bootable image, not a Linux package, so on all three the trick is writing that image to the server's own disk. Sizing floor for a full box: 2 vCPU, 4 GB RAM, 40 GB disk.
Hetzner Cloud — best price-to-performance
In the Hetzner Cloud console: new project → Add Server → a CX22 (2 vCPU / 4 GB), add your SSH key, and create it. Boot into Rescue, then write the image to the system disk:
wget https://github.com/vul-os/vulos/releases/latest/download/vulos-x86_64.img.gz
gunzip -c vulos-x86_64.img.gz | dd of=/dev/sda bs=4M status=progress
reboot
DigitalOcean — the gentlest console
Upload the raw .img under Images → Custom Images, then create a Droplet from that image (a 2 GB / 2 vCPU Basic Droplet is a fine box). No custom-image support in your region? Create any Droplet, boot the recovery ISO, and dd the image on exactly as with Hetzner above.
Fly.io — best suited to relay duty
Fly is CLI-first and container-shaped, so it fits a relay better than a full desktop box:
fly launch --image ghcr.io/vul-os/vulos:latest --no-deploy
fly ips allocate-v4          # a dedicated public IPv4
fly secrets set VULOS_ROLE=relay
fly deploy
Fly Machines can idle-stop; if this is a relay that must always answer, keep
min_machines_running = 1infly.toml.
Create your account
Browse to the machine — http://localhost:8080 on the box itself, or https://<your-server-ip> for a VPS. A fullscreen wizard walks you through it — just pick New:
- A username + a password (no third-party login)
- Your
@vulosusername - Apps & optional backup bucket
- Save your recovery kit
You’re on the desktop
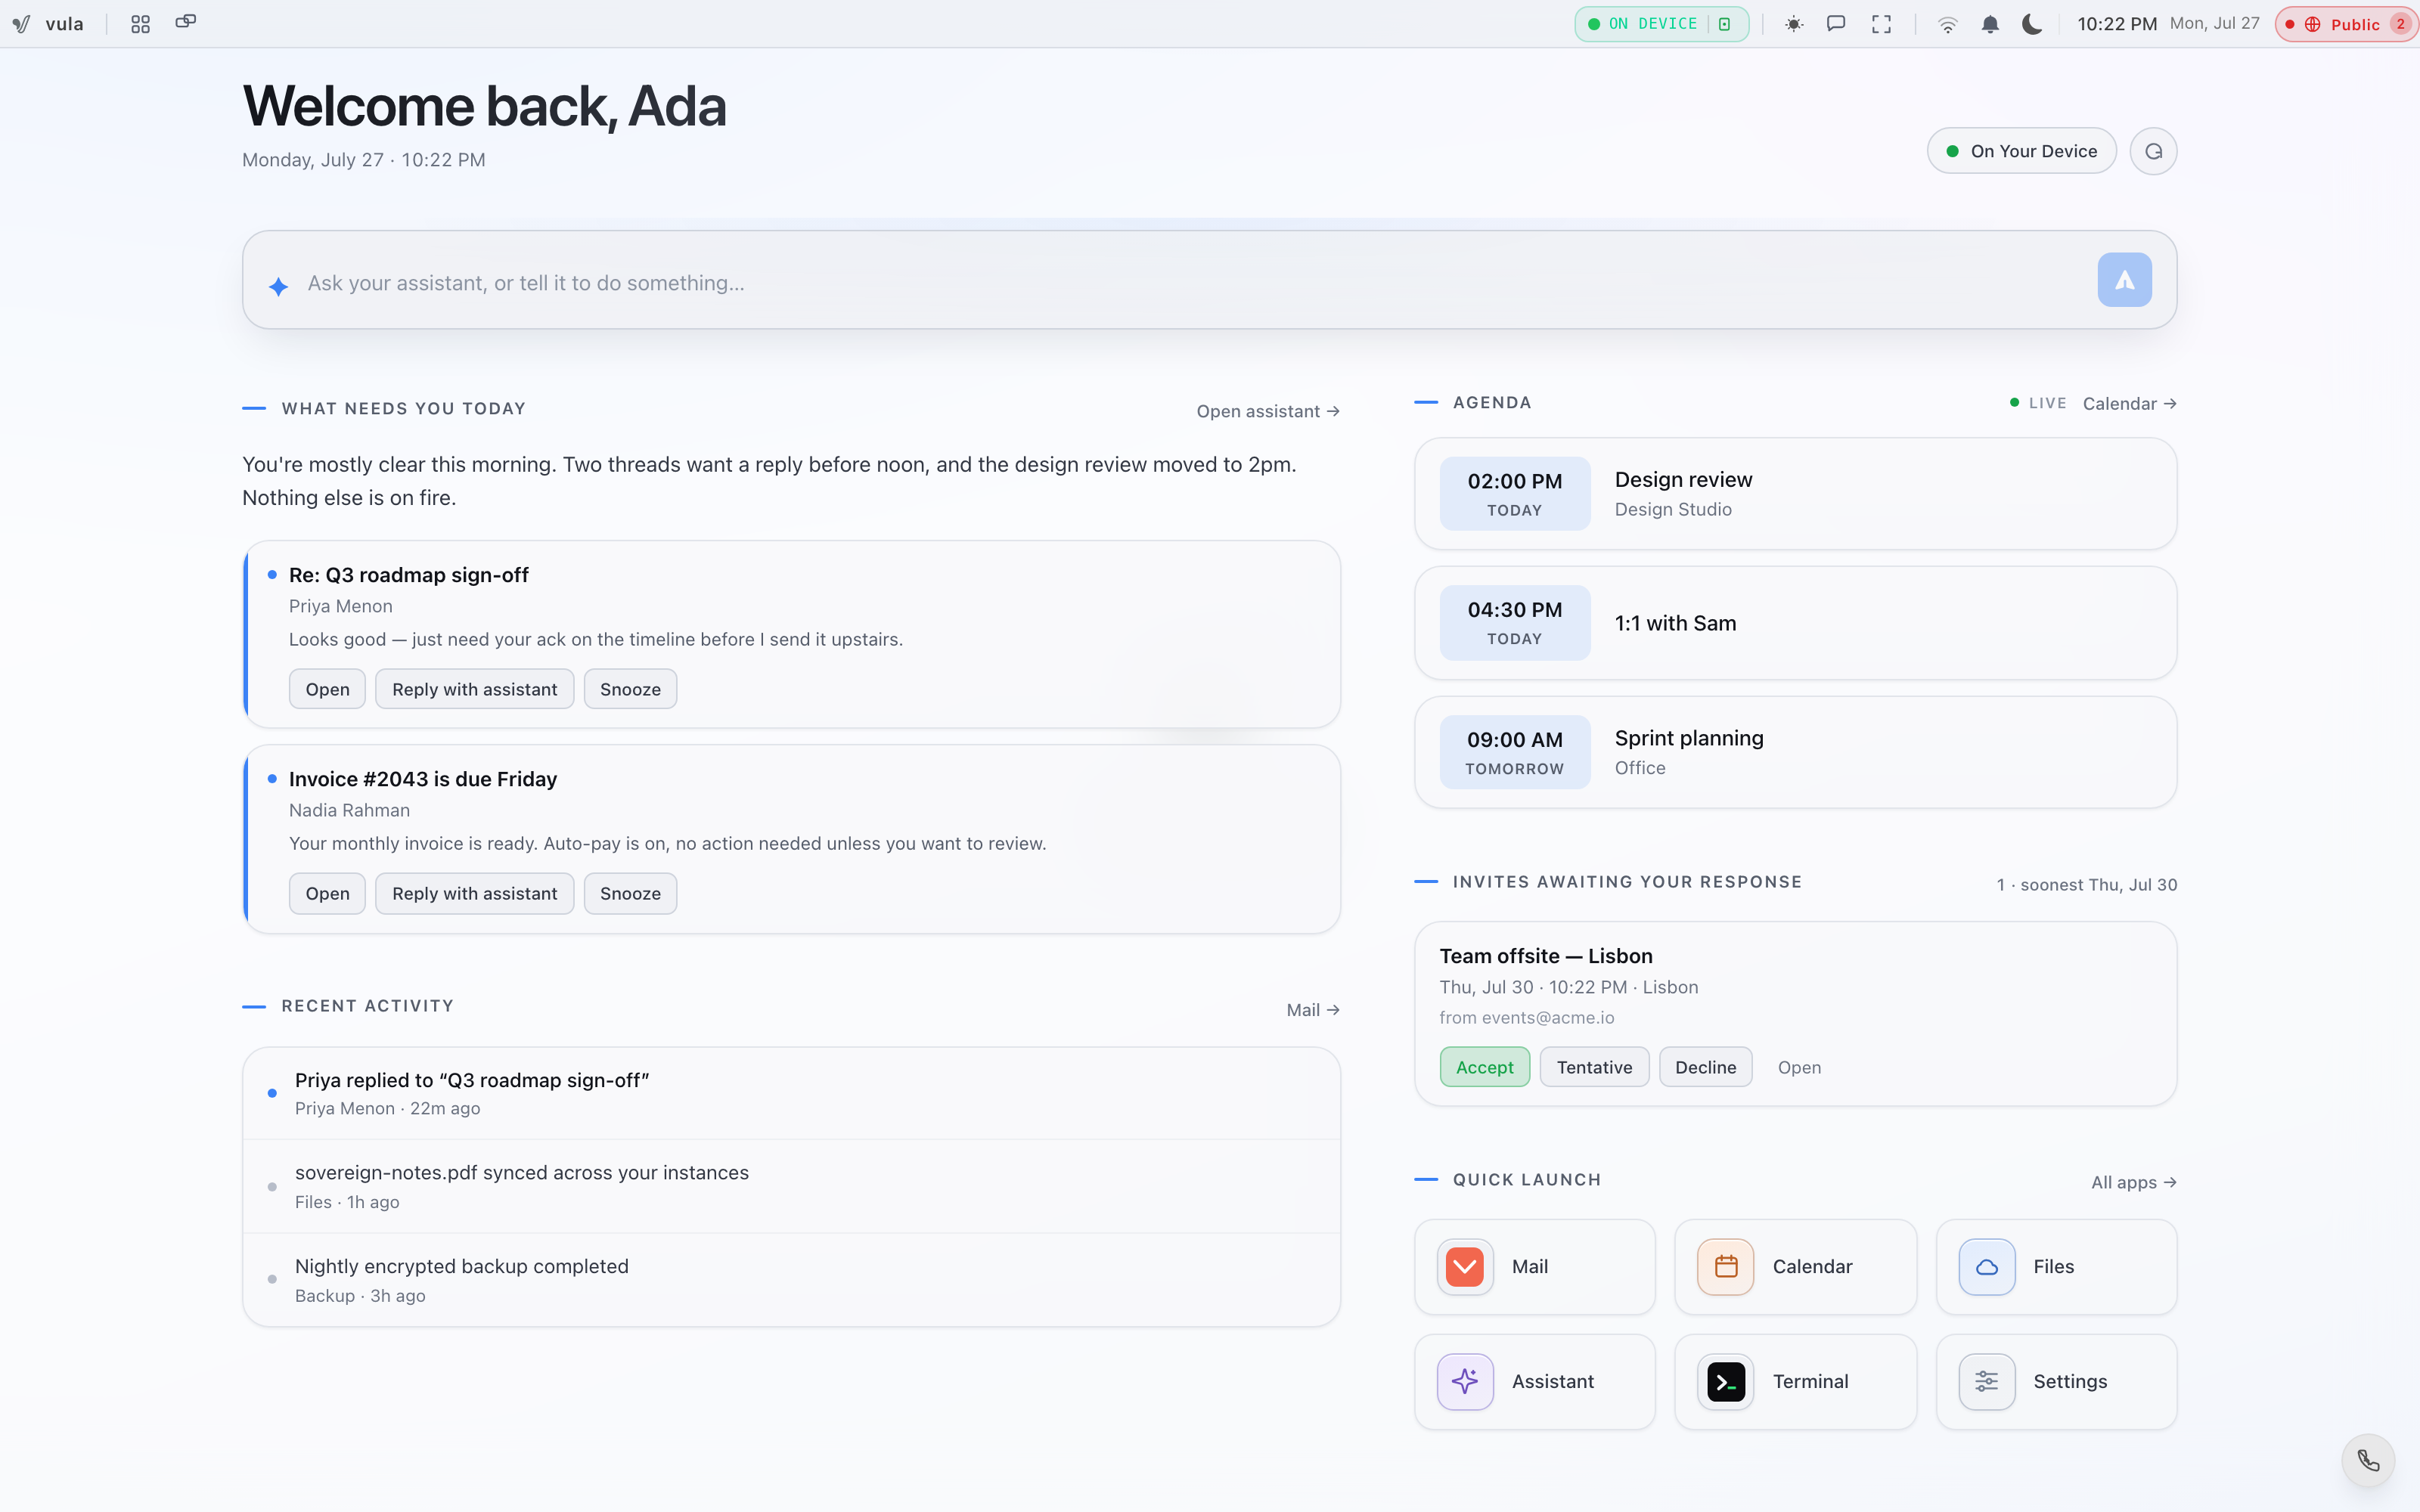
Setup finishes and you land on a real desktop. Three things to try — ⌘K for the command palette, F3 for Mission Control, and Files in the dock for your drive.
Open App Hub to add more: the default install is the full suite — Diwan, Files, the AI assistant — all opt-out. Want your inbox on the box? Add the mail connector and bring your own Gmail/Outlook/IMAP.
Put it on a domain, with TLS
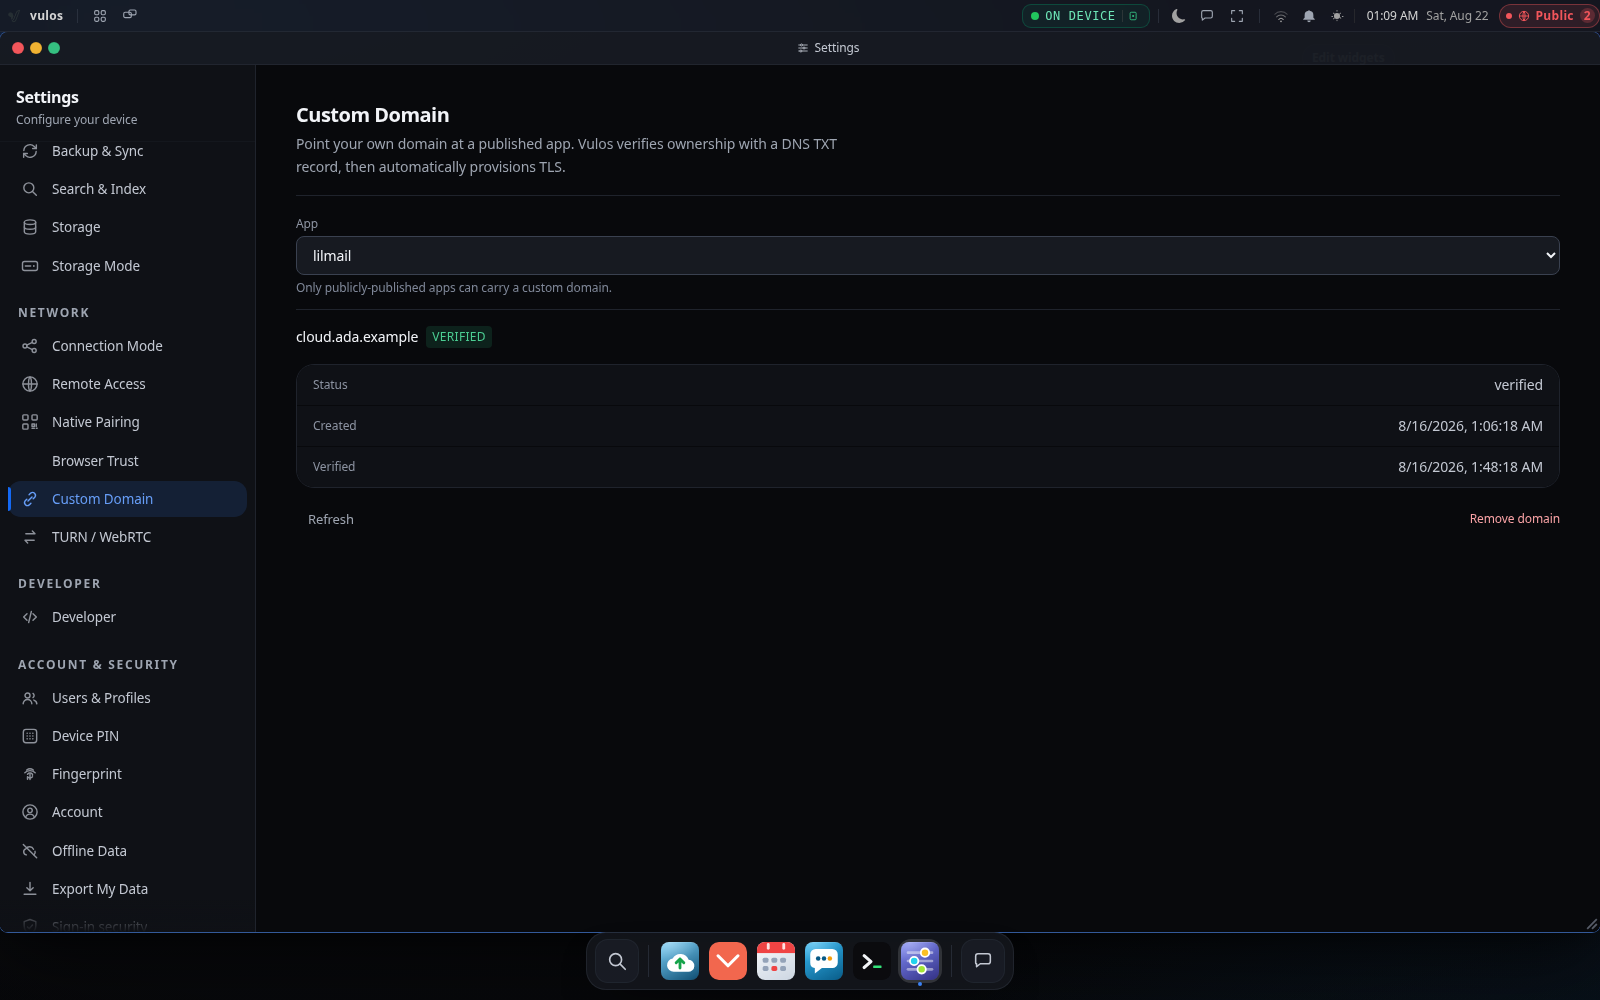
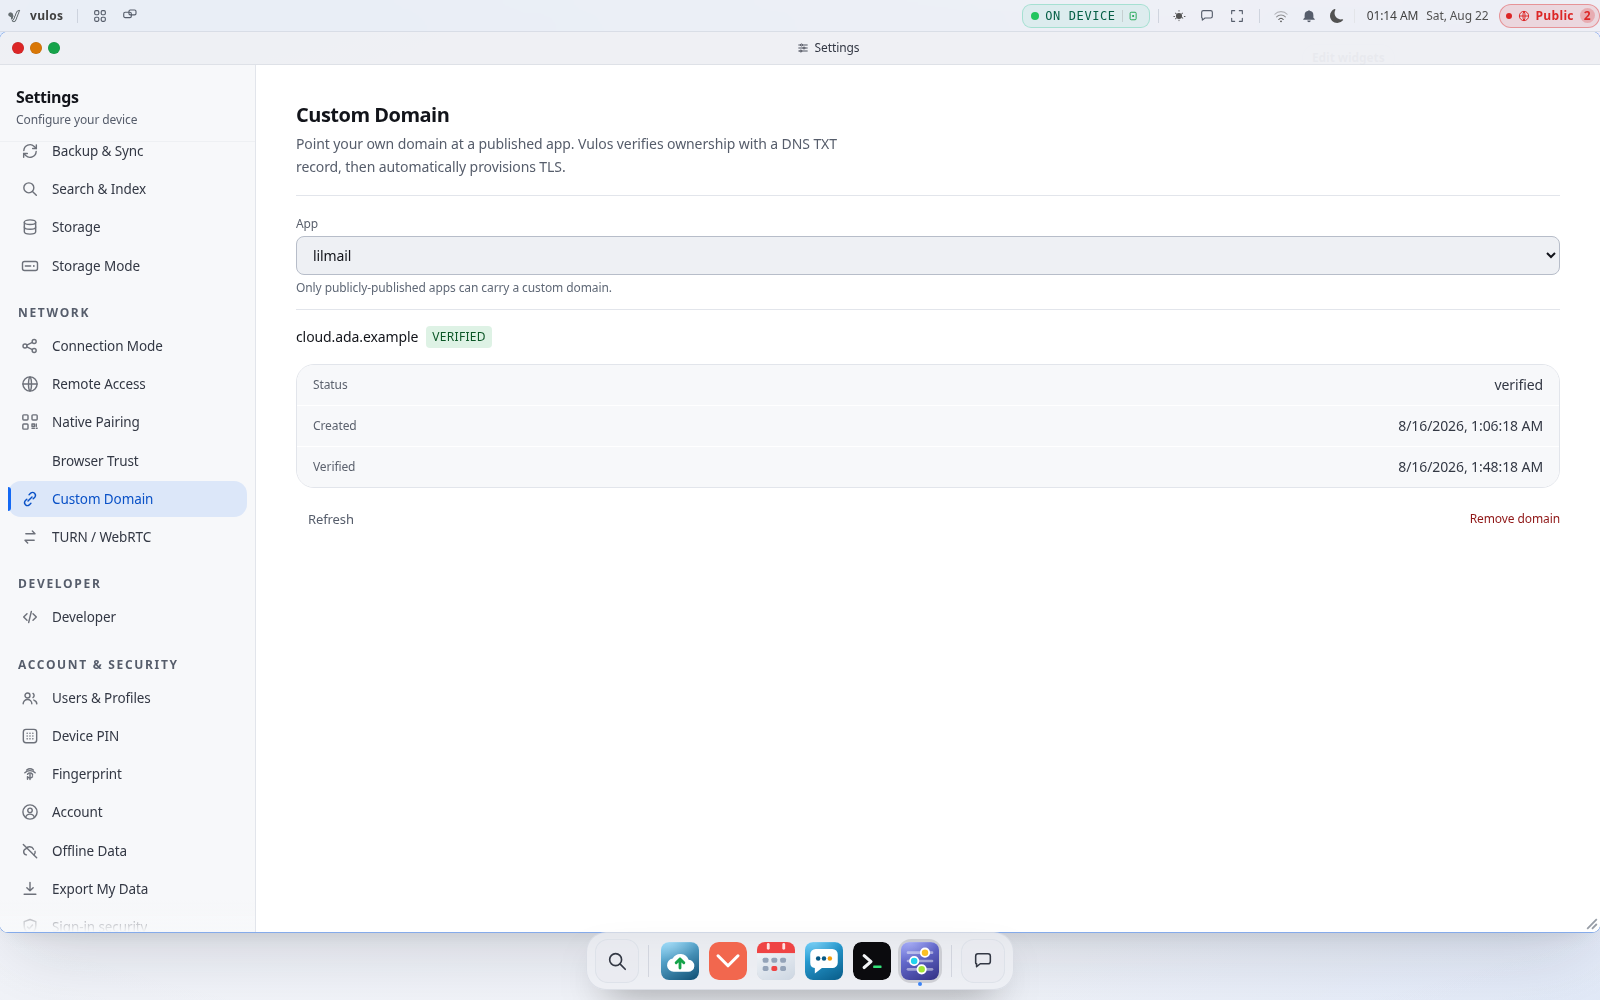
OptionalAdd an A record for a domain you own, pointed at the box’s public IP — Vulos provisions TLS for it automatically, no separate reverse proxy needed for the flashed image or Docker paths.
Building from source and deploying over SSH instead? ./build.sh --deploy <host> --domain <yourdomain> sets up Caddy for you: a dedicated caddy system user, a Caddyfile with site blocks for $DOMAIN and *.$DOMAIN, and a caddy.service systemd unit that terminates TLS and reverse-proxies to the Go backend on :8080. Re-running the same command on an existing deploy just restarts Caddy.
The box owns its own firewall — only the ports Vulos needs are open. Nothing else to harden.
Reach it from anywhere
OptionalHome internet hides a box behind a router — nothing outside can knock on its door directly (this is NAT). The fix is a relay: your box dials out to a machine with a public IP and holds that line open, so it never has to open a port. Vulos the org runs no relay for you — this is something you stand up yourself, and it’s just Vulos running in relay mode on a box you already know how to boot:
# on a public-IP VPS (see the VPS step above)
vulos relay serve --listen 0.0.0.0:4711 --domain relay.example.org
It prints a relay address. On the box you want reachable, open Settings → Network → Relay & Reachability, choose Vulos relay, and paste it in. Already have a public IP on this box? Pick Direct instead — no relay needed. Want an alternative broker alongside your own relay? Pier is wire-compatible and experimental.
The relay forwards ciphertext between you and your box; it never holds or reads your content.
What you have now
- Vulos installed and running — on your own hardware or a rented VPS
- An account secured with a password, plus a recovery kit saved
- The desktop shell, Files, and App Hub at your fingertips
- A clear picture of the optional domain/TLS and relay steps — and what the relay does not see